

The Awesome Alpine Butterfly
Last month I mentioned that the Alpine Butterfly was one of my four “must know” knots here. In fact, it is second on my list. Here, I’d like to give my reasons why as well as cover a few unusual variations on its use.
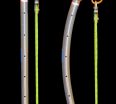
The Alpine Butterfly is an excellent mid-line knot. This means it can be set part way along a rope to create a loop that can be loaded in any direction. With this use, both strands of the original rope can still be loaded in any direction
How to tie the Alpine Butterfly
The two most commonly taught methods to tie this knot are:
- Hand wraps method.
- Two twists method.
Hand Wraps Method
This method seems to be the easiest to teach and is pretty much guaranteed to produce the correct knot.
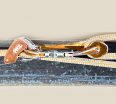
Two Twists Method
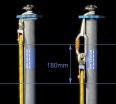
This is my preferred method as I find it easier for the times I need a long loop. The loop length is set by the length of the bight taken to form the initial twist. It is very important that the second twist is taken in the same direction as the first. If the second twist reverses that of the first then the result will still resemble an Alpine Butterfly however it is really two half hitches stacked over a bight.
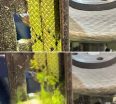
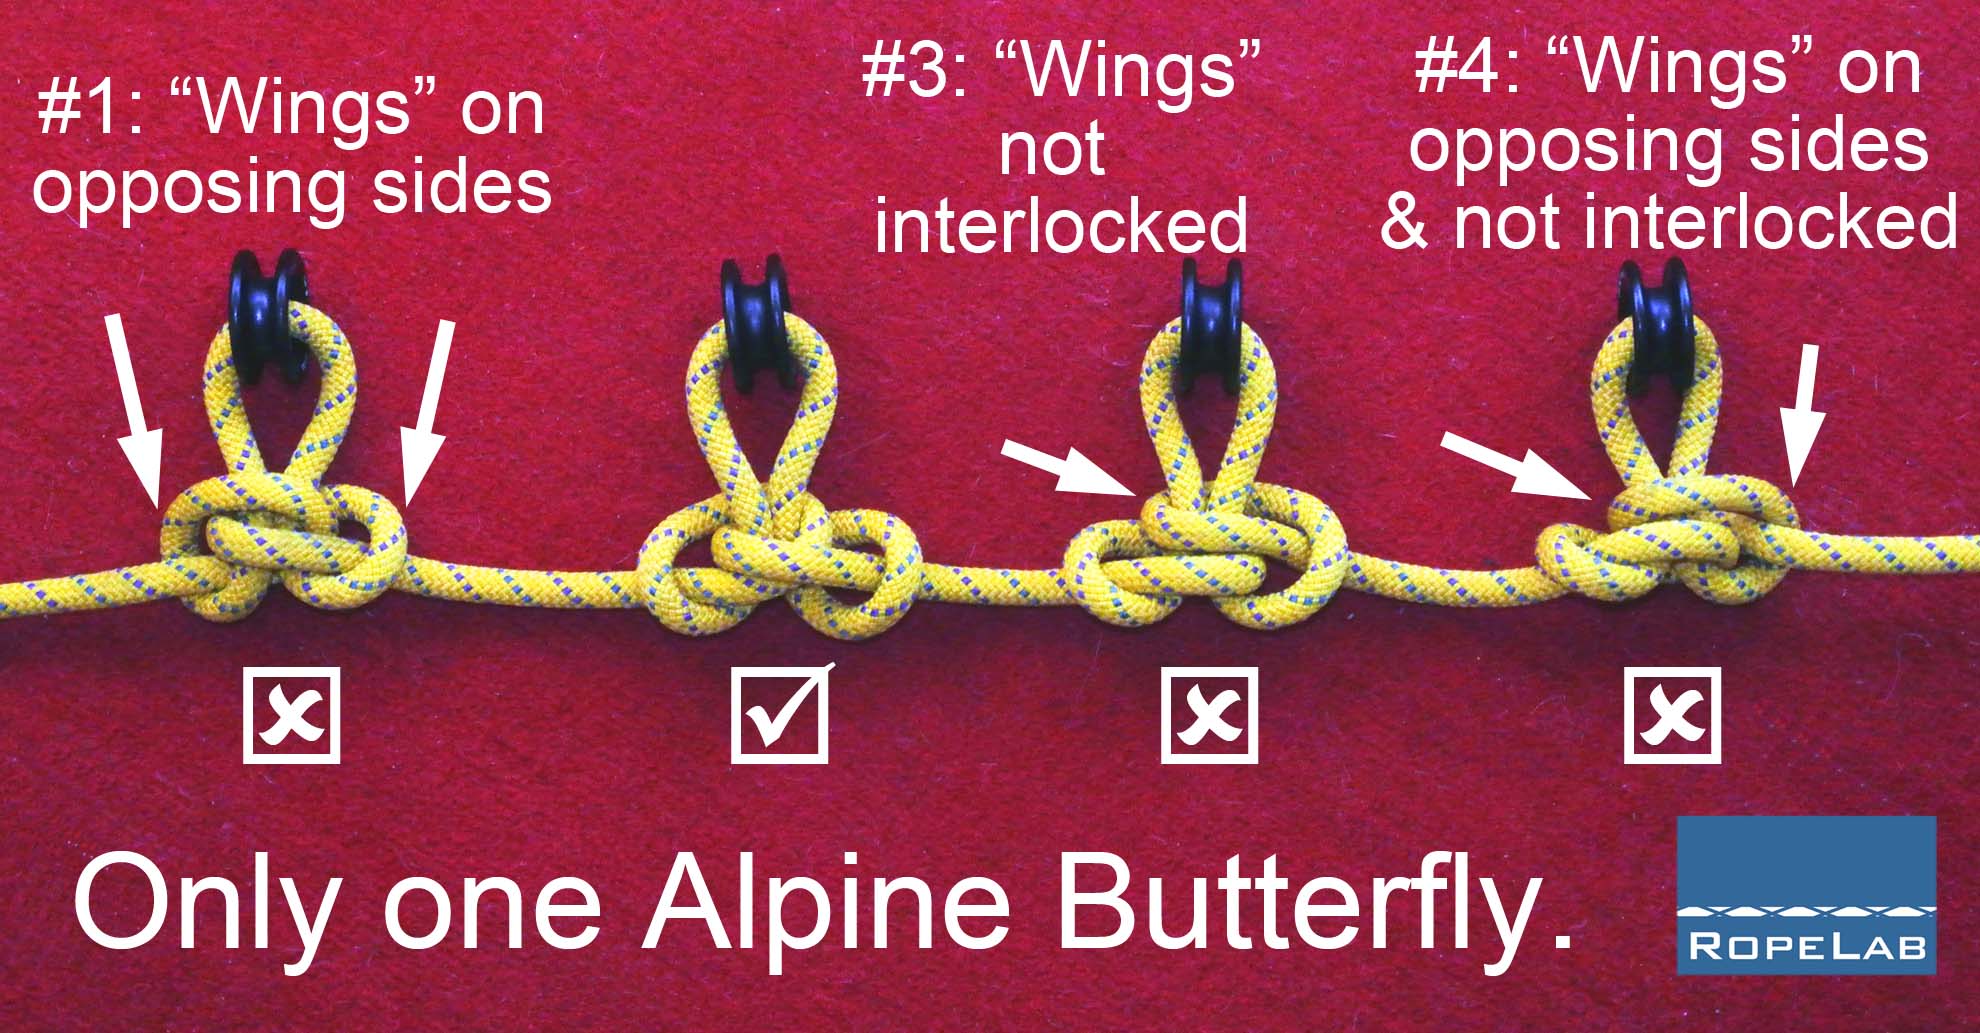
Inspection
There are a few similar knots that are not Alpine Butterflies. Ease of inspection and familiarity with correct form are important so that examples such as those shown below are not mistaken for the Alpine Butterfly.
Uses of the Alpine Butterfly
There are many and some common uses are:
- To create a mid-rope attachment loop (or two).
- To join two ropes.
- To isolate a damaged section of rope.
- To provide a second loop near the end of the rope for two-point anchors.
- To attach a pulley, ring, or other object part way along a rope.
- For the middle person in a roped team of three. This is the background to the variation on the name as the Alpine Middleman’s Knot.
- To provide an extra joining knot to prevent the loading of a Double Fishermans Bend. This is easy to untie after use and, should a knot passing manoeuvre be required, it also provides a loop that can be clipped during transitions.
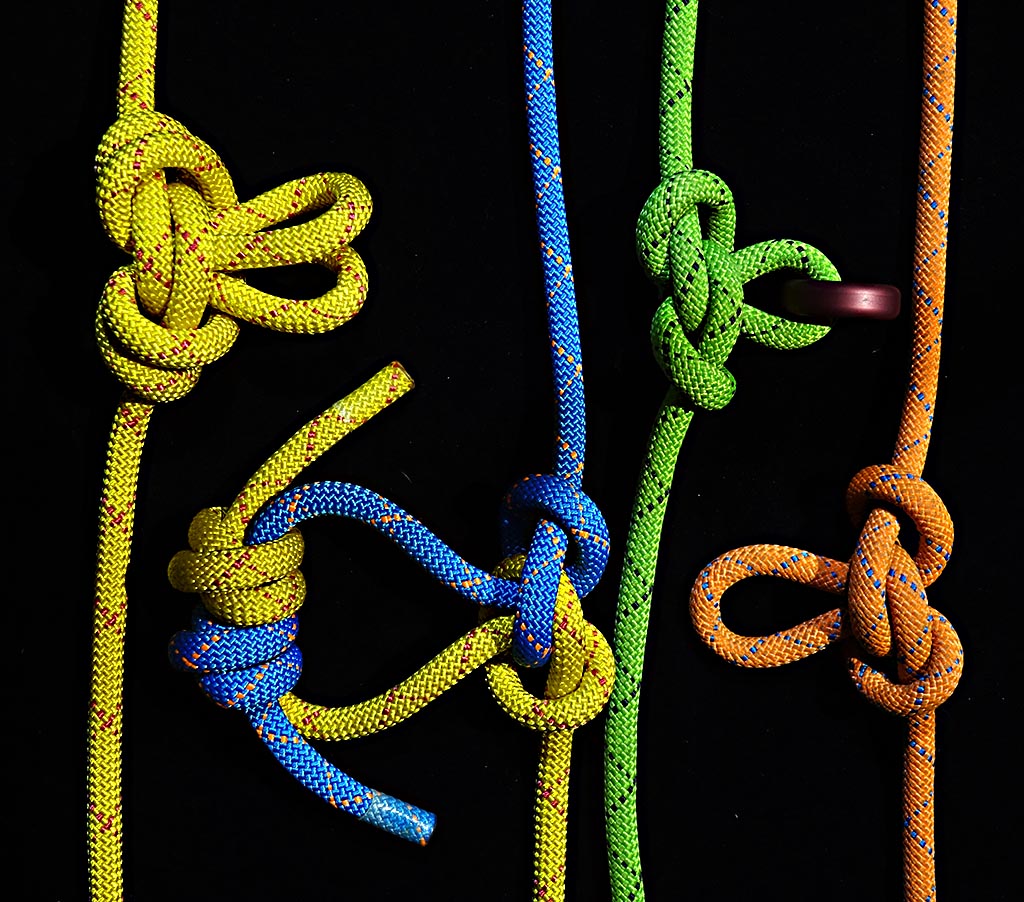
Other ways to tie the Alpine Butterfly
There are a few other variations that may be useful in some circumstances.
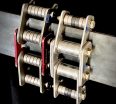
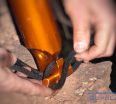
Rethreaded Alpine Butterfly
It is actually not as hard as it sounds. The key is to start with a simple overhand knot as shown in the following video.
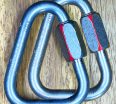
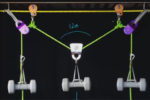
One of the times this technique is most useful is for setting ropes on multiple anchor points without wasting carabiners.
This setup not only saves carabiners, it also eliminates any potential for improper carabiner loading and is less prone to interference if anchors are unattended during use.
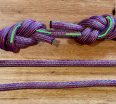
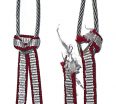
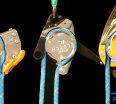
Alpine Bunny Knot
I was thinking about different knots and was aware of multi-loop variations of the Figure 8 and Bowline using a girth hitch. However, I had not heard of a girth hitch variation of the Alpine Butterfly. I tried two different techniques and the one shown below seems to have the cleanest dressing. I am certainly not claiming to have invented a new knot as I am sure others have already used this however I can see that this could be very useful.

This, like the rethreaded Alpine Butterfly, saves carabiners and also offers significant advantages in security. If a pulley needs to be mounted as a remote directional element then this option is not only compact, but it also negates any concerns around carabiners unlocking or opening.
There are other mid-line knots but, for my uses, this one offers the following benefits. It is:
- Easy to tie.
- Easy to recognise and inspect.
- Easy to adjust.
- Can be loaded in any direction.
- Easy to untie after loading.
- Has several variations for differing applications and needs.
© Richard Delaney, RopeLab 2016.
Related Posts

About The Author
Richard Delaney
Richard Delaney has worked professionally with ropes since 1992 as a multi-pitch rock-climbing instructor, technical rescue instructor and rope access technician. Understanding and teaching the Physics of Rigging is a core passion of Richard’s, one based on his experience, and his prior professional life as a qualified engineer.