


Munter Hitch
The Munter Hitch can be used as a personal belay ‘device’ or on an anchor to lower or belay another.
This hitch, like most, has many names:
- Italian Hitch
- Nœud de Demi-Cabestan (French: ‘Nœud de Cabestan’ literally translates as the ‘capstan knot’ but refers to the Clove Hitch. The ‘Demi-Cabestan’ is the ‘half-clove hitch’.)
- Halbmastwurf (German: ‘Mastwurf’ refers to the Clove Hitch. ‘Halb’ literally translates as ‘half’ so, again, this knot is a ‘half-clove hitch’.
If climbers are to only learn three knots then this should certainly be one. The other two are the Figure-of-8 Knot and a Prusik Hitch. This article aims to highlight the versatility of the Munter Hitch and to offer a few considerations and opinions of some of the ways it is used.
Disclaimer
This discussion is certainly not to be interpreted as instruction. It is simply a presentation of some of the ways that the Munter Hitch has been used by others to achieve certain variations in performance. Equipment manufacturers may have instructions that present permitted uses of their products and these must be read, understood, and adhered to prior to and during use.
The techniques presented below will vary significantly according to:
- User experience.
- User weight.
- Rope type, condition, diameter, moisture etc.
- The shape, size, and other attributes of the hardware used with the Munter Hitch.
It is assumed that readers are familiar with the use and function of the Munter Hitch and that, among other things, there must always be at least one brake-hand firmly in place on the brake strand of rope to manage the friction provided by the hitch. If you are not familiar with the use of this hitch then do not try these techniques. If you do try any of these then do so in a controlled environment and with an independent safety system to protect you in the event of error or unexpected performance.
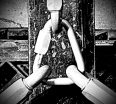
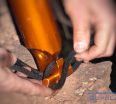
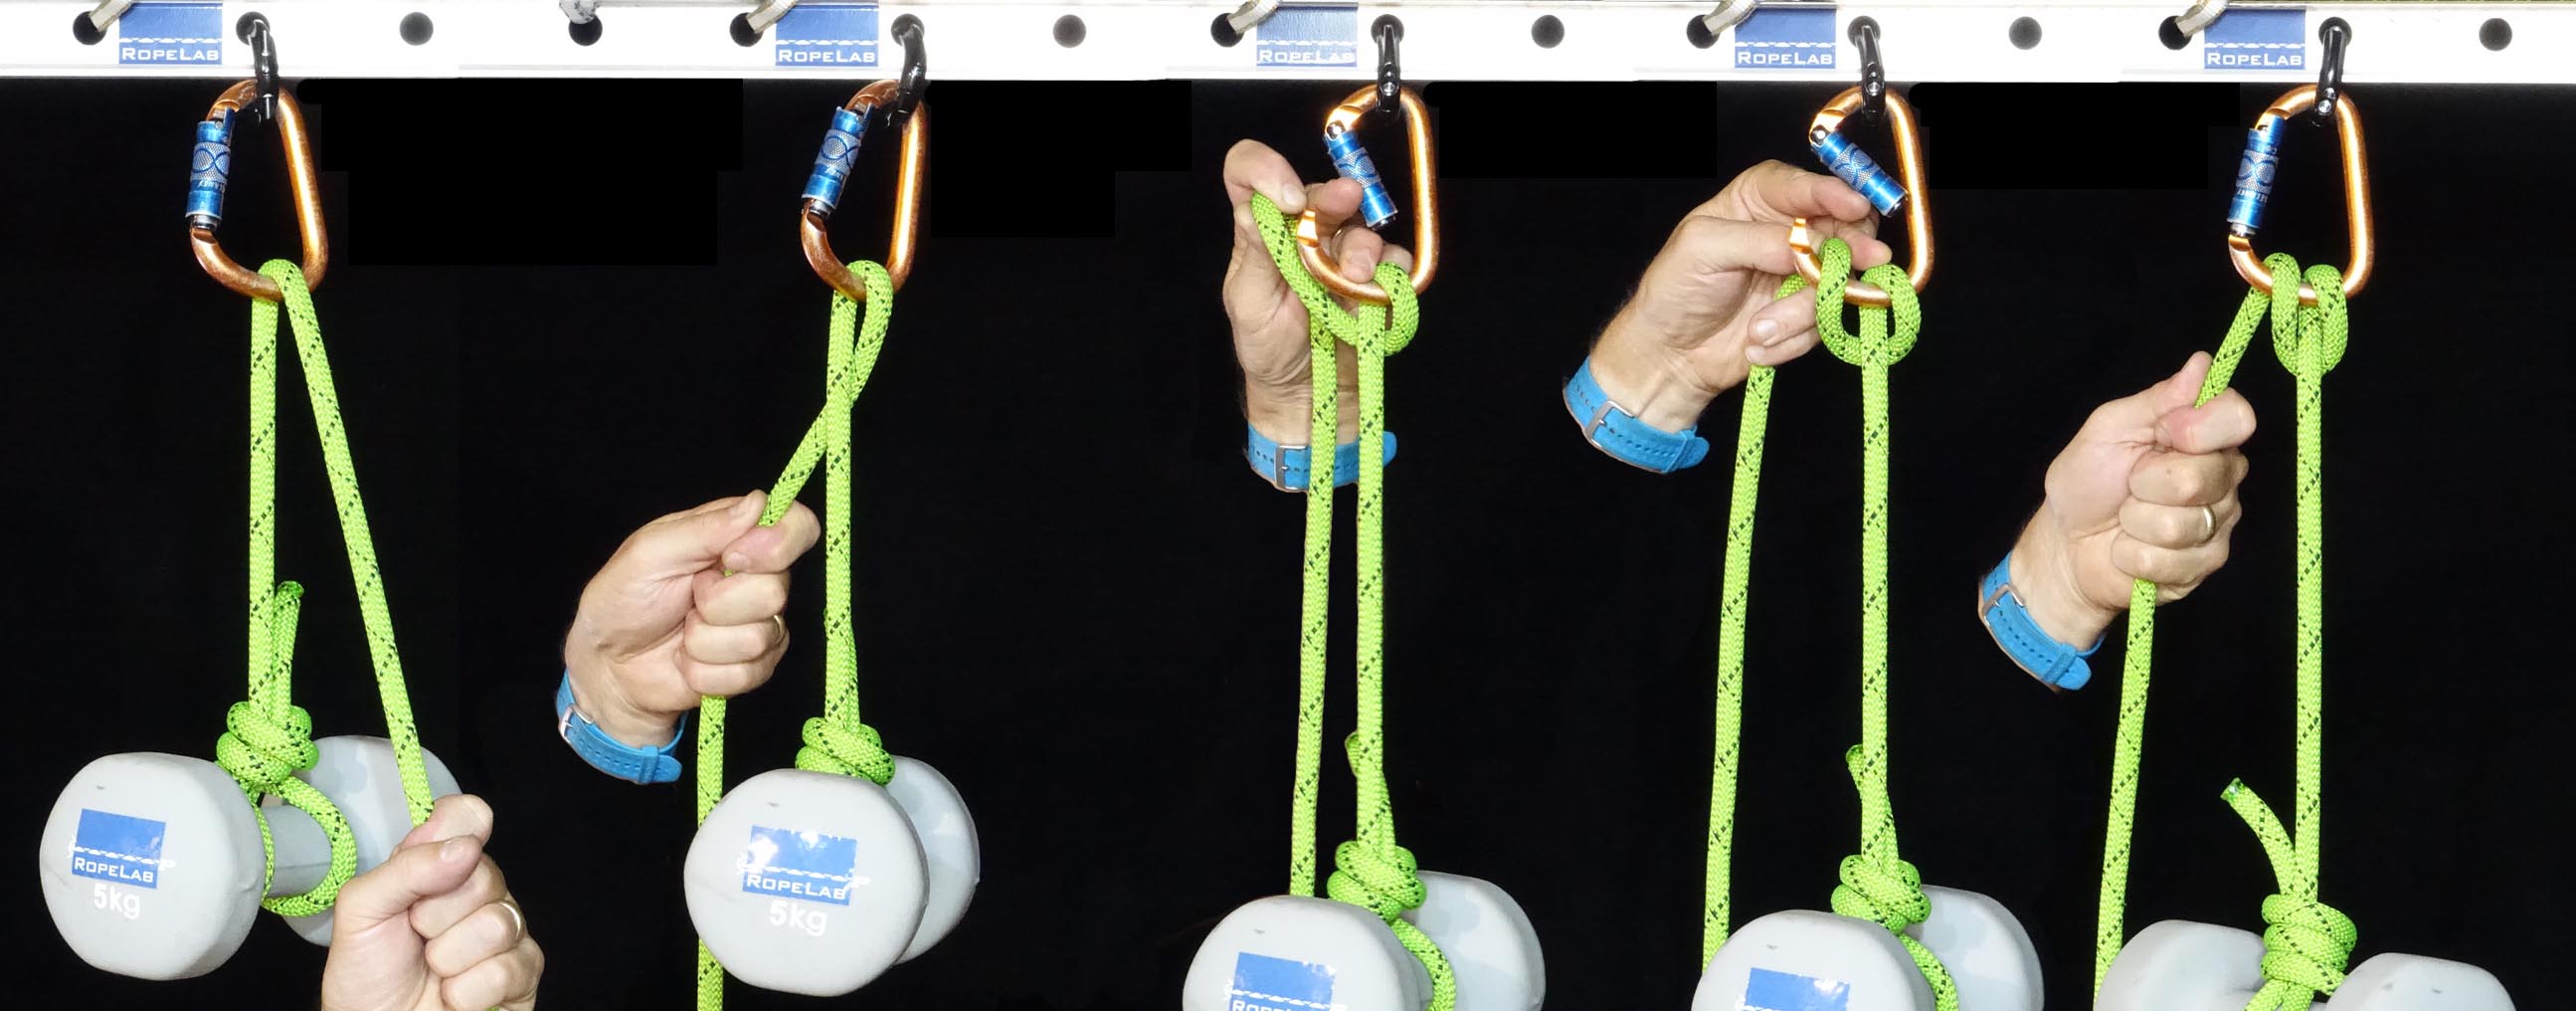
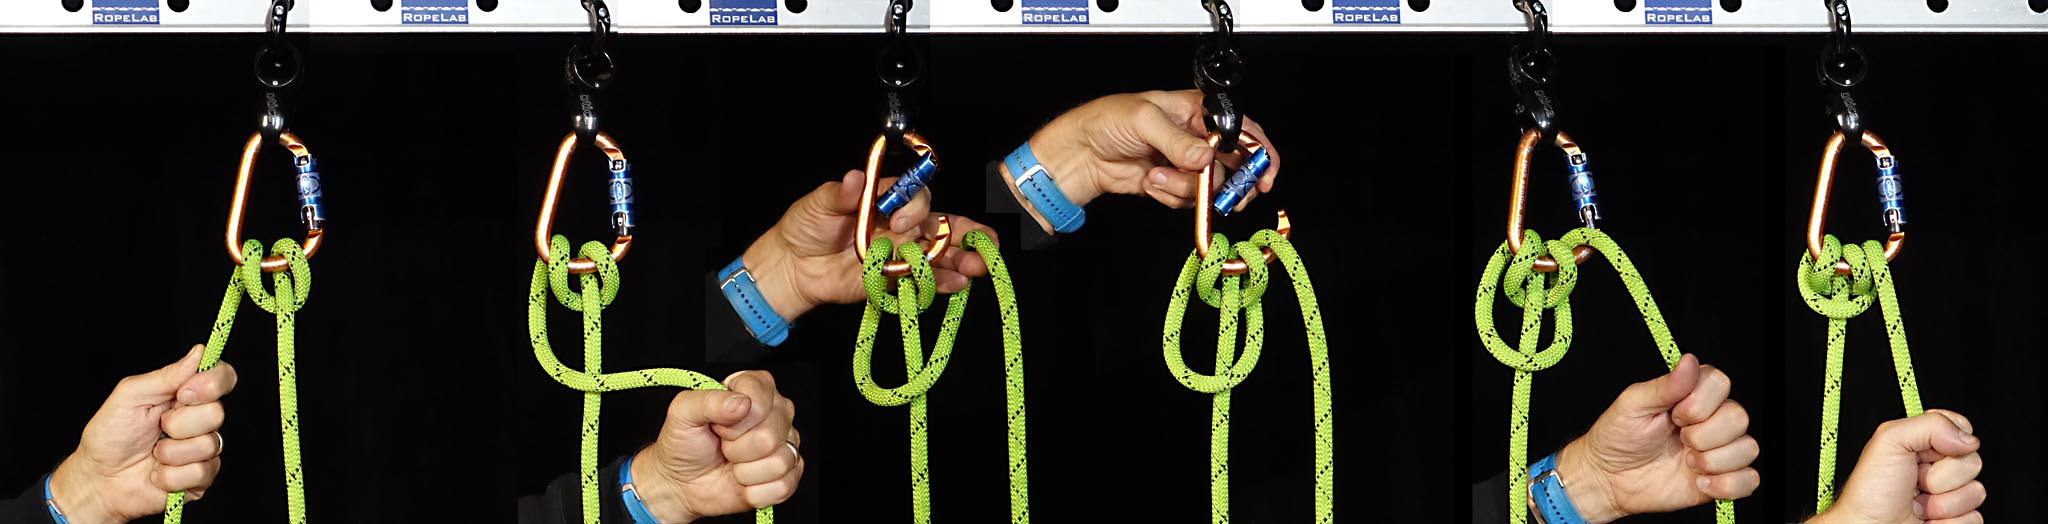
Tying the Munter Hitch
There are a few ways this hitch can be tied and the following sequence shows just one.
Friction
The friction offered through the hitch varies significantly with brake hand position and carabiner shape.
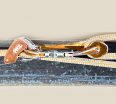
Brake hand position
Maximum friction is obtained when the brake hand holds the brake rope out next to the incoming loaded rope. Positioning the brake hand (holding the brake rope) back behind the carabiner and away from the loaded rope provides much less friction.
When descending with the Munter Hitch attached to the belay loop of the harness it is simple to vary and find the hand position to find an appropriate amount of friction. Note that the Munter Hitch requires a different angle for the brake hand than that required by many other friction devices. This may be counter intuitive for some and would require practice for effective use.
If the Munter Hitch is instead attached to an anchor and being used to provide a belay then it is vital that the belayer ensures that it is possible to position their brake hand in the full range of positions.
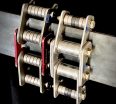
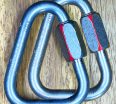
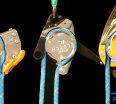
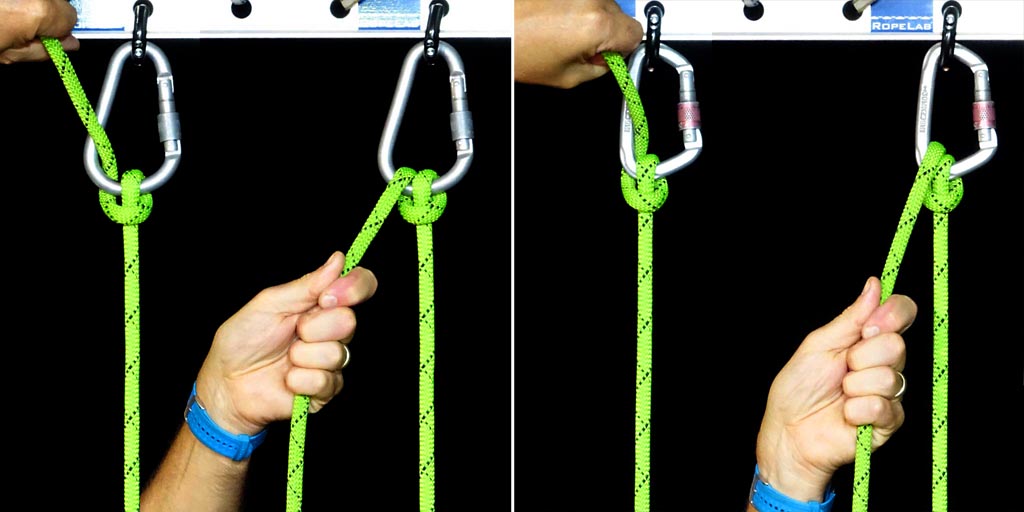
Carabiner shape
The image above shows two very different carabiner shapes. The one on the left is an HMS (or pear) shape and the right is a modified ‘D’.
It seems not many users realise the origin of the term HMS but it is particularly relevant to this article. It is literally an abbreviation for the German word ‘Halbmastwurfsicherung’. As mentioned in the introduction, ‘Halbmastwurf’ is the German name for the Munter Hitch (or half Clove Hitch) and ‘sicherung’ gives the final meaning of ‘Half-clove-hitch-belay’. So we have Halb-Mastwurf-Sicherung abbreviated to HMS.
The HMS shape provides the most consistent operation of the Italian Hitch. The modified ‘D’ still works fine but the operation varies with the way the rope sits or gets pinched in the tight bend of the ‘D’.
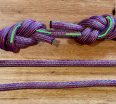
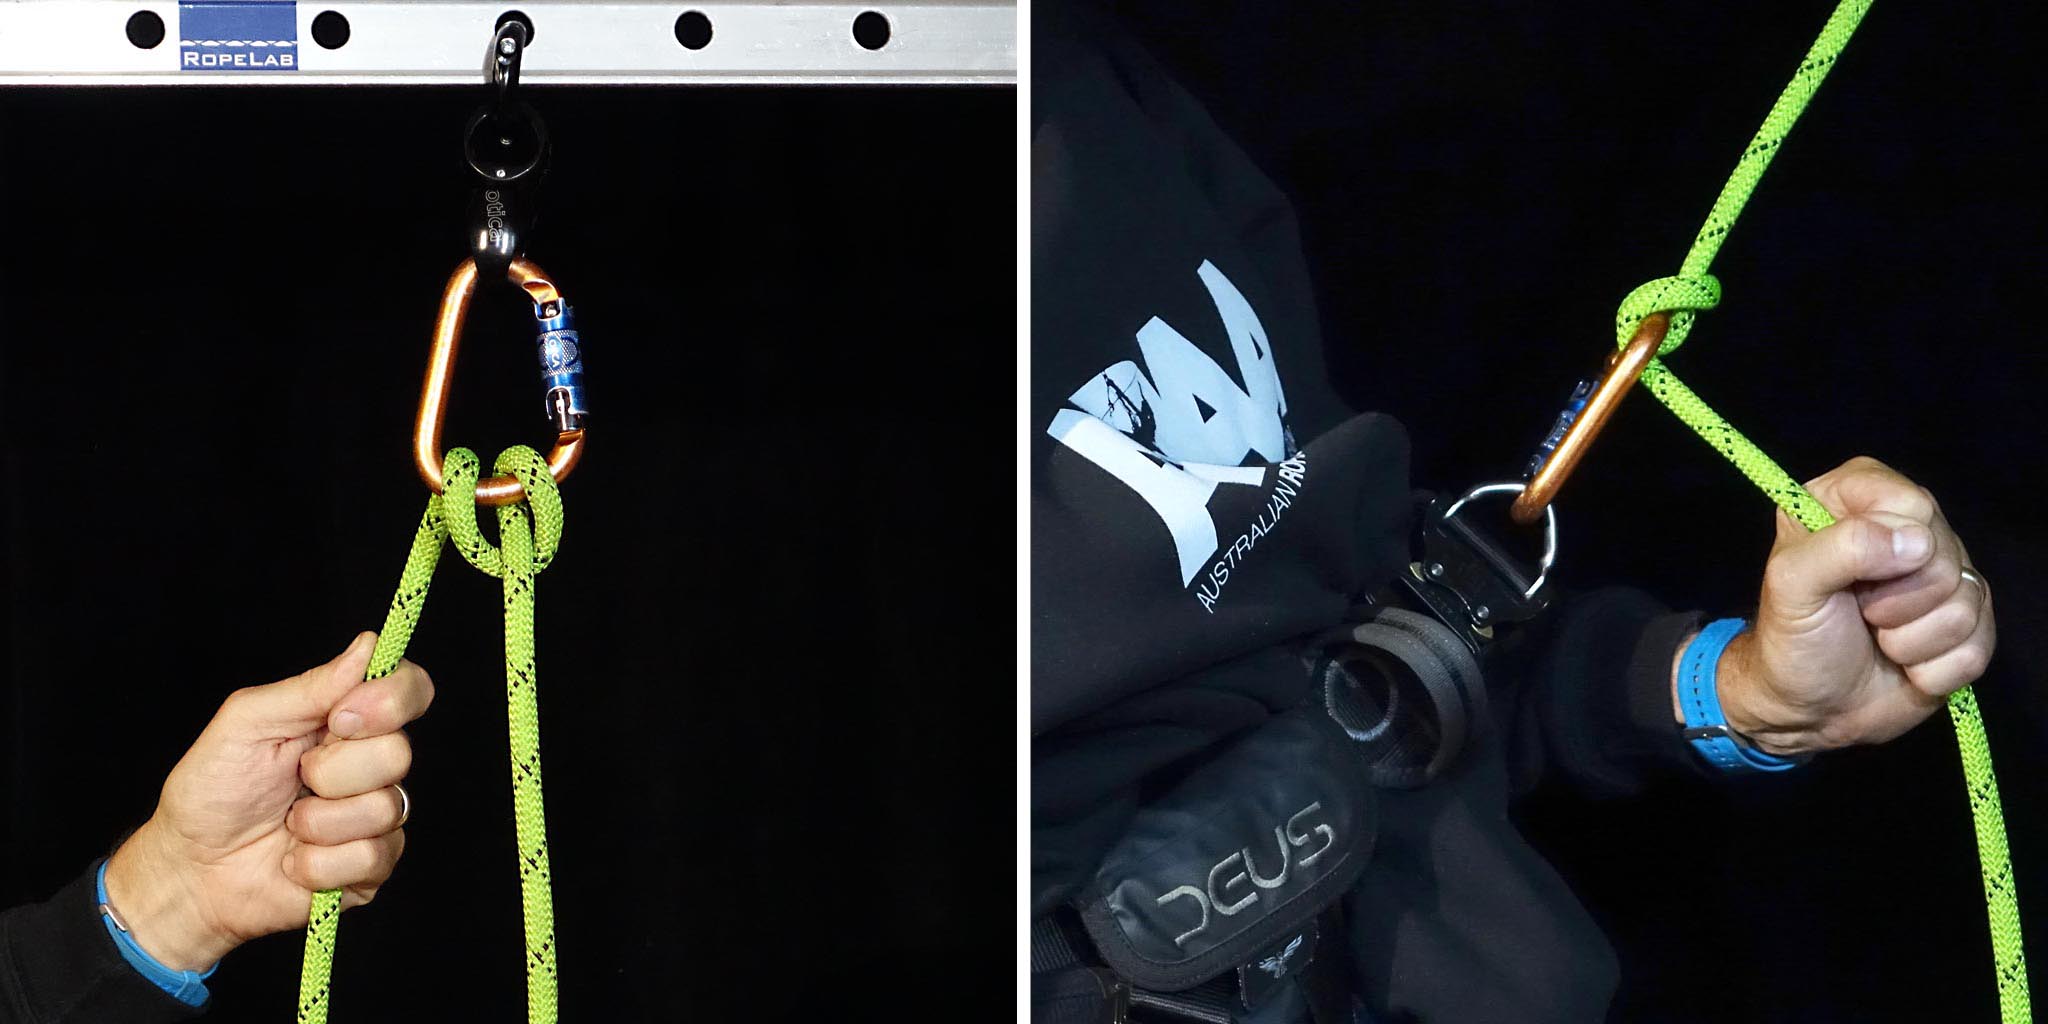
Spine-side or gate-side?

The positioning of the brake rope as it exits the host carabiner is significant. Ideally the Munter Hitch should be tied so that the brake rope exits along the spine of the carabiner as shown in the left-most image. If the brake rope exits across the gate of the carabiner then a few things can occur:
- The movement of the rope across the gate mechanism may actually unlock and open the gate.
- The gate mechanism may have edges that could catch on and damage the rope sheath.
If the Munter Hitch has been set with the brake rope on the gate side then this is not catastrophic, it simply means that the user must find a brake hand position that keeps the rope clear of the gate mechanism.
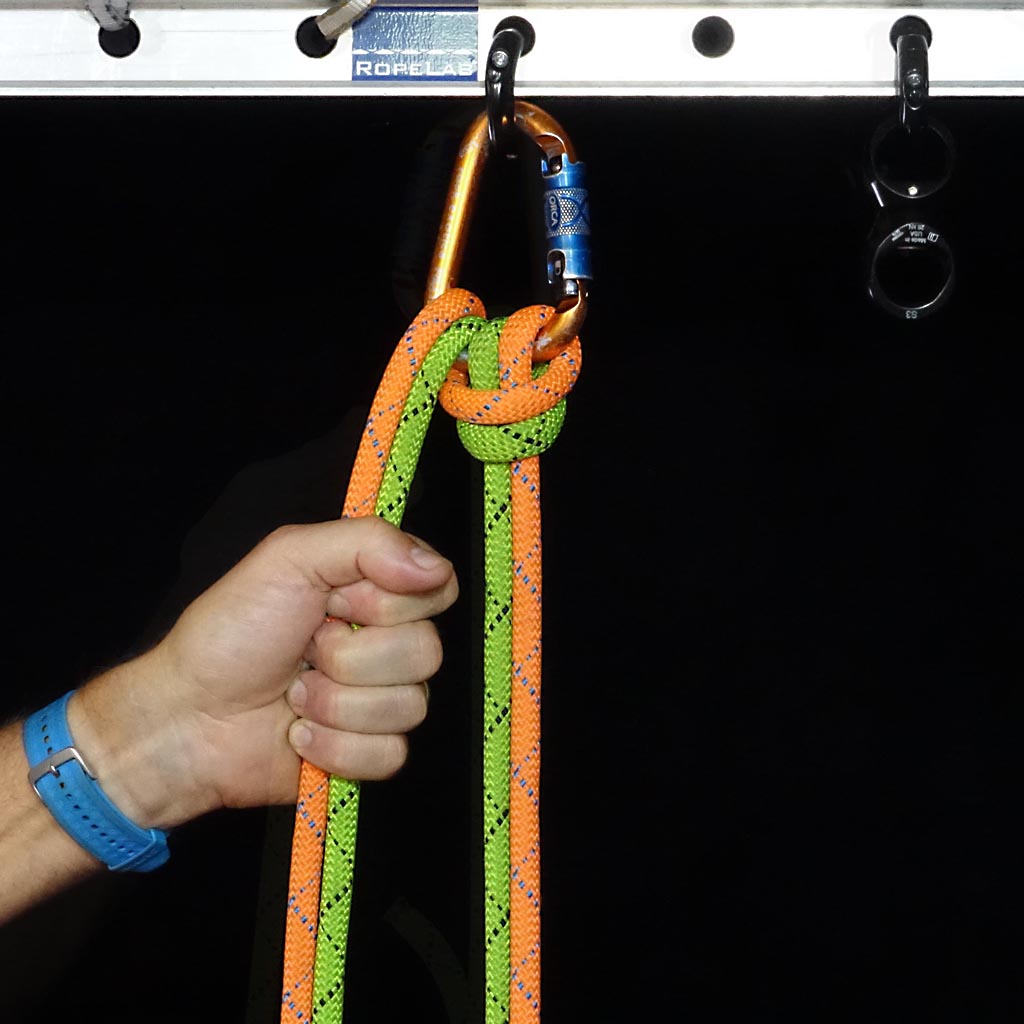
Double ropes
The Munter Hitch can also be used with double ropes for descending in retrievable rope situations. Simply treat the two ropes as one and tie the hitch the same way.
Twisting
The standard Munter Hitch certainly twists the host rope. This will vary with subtle changes in hand position but it is unavoidable. For this reason it is generally not the first choice for those wishing to descend or belay. However, if a belay device has been dropped or misplaced then the Munter Hitch is an excellent second choice.
Testing
We did some simple tests at RopeLab and found that if using a dry 11mm nylon rope in good condition on a large HMS carabiner then a single brake hand could easily control around 0.9kN in the forward position and 1.2kN in the maximum friction position. With a good stance and two hands on the brake rope these numbers increased to around 1.9kN and 3.4kN. Note that this was what could be held stationary, rather than what could be lowered in a controlled manner.
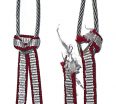
Tying-off
There are a few common ways to tie-off the Munter Hitch and none are necessarily incorrect, so long as the choice provides a method for securing the hitch during times when the brake hand is removed.
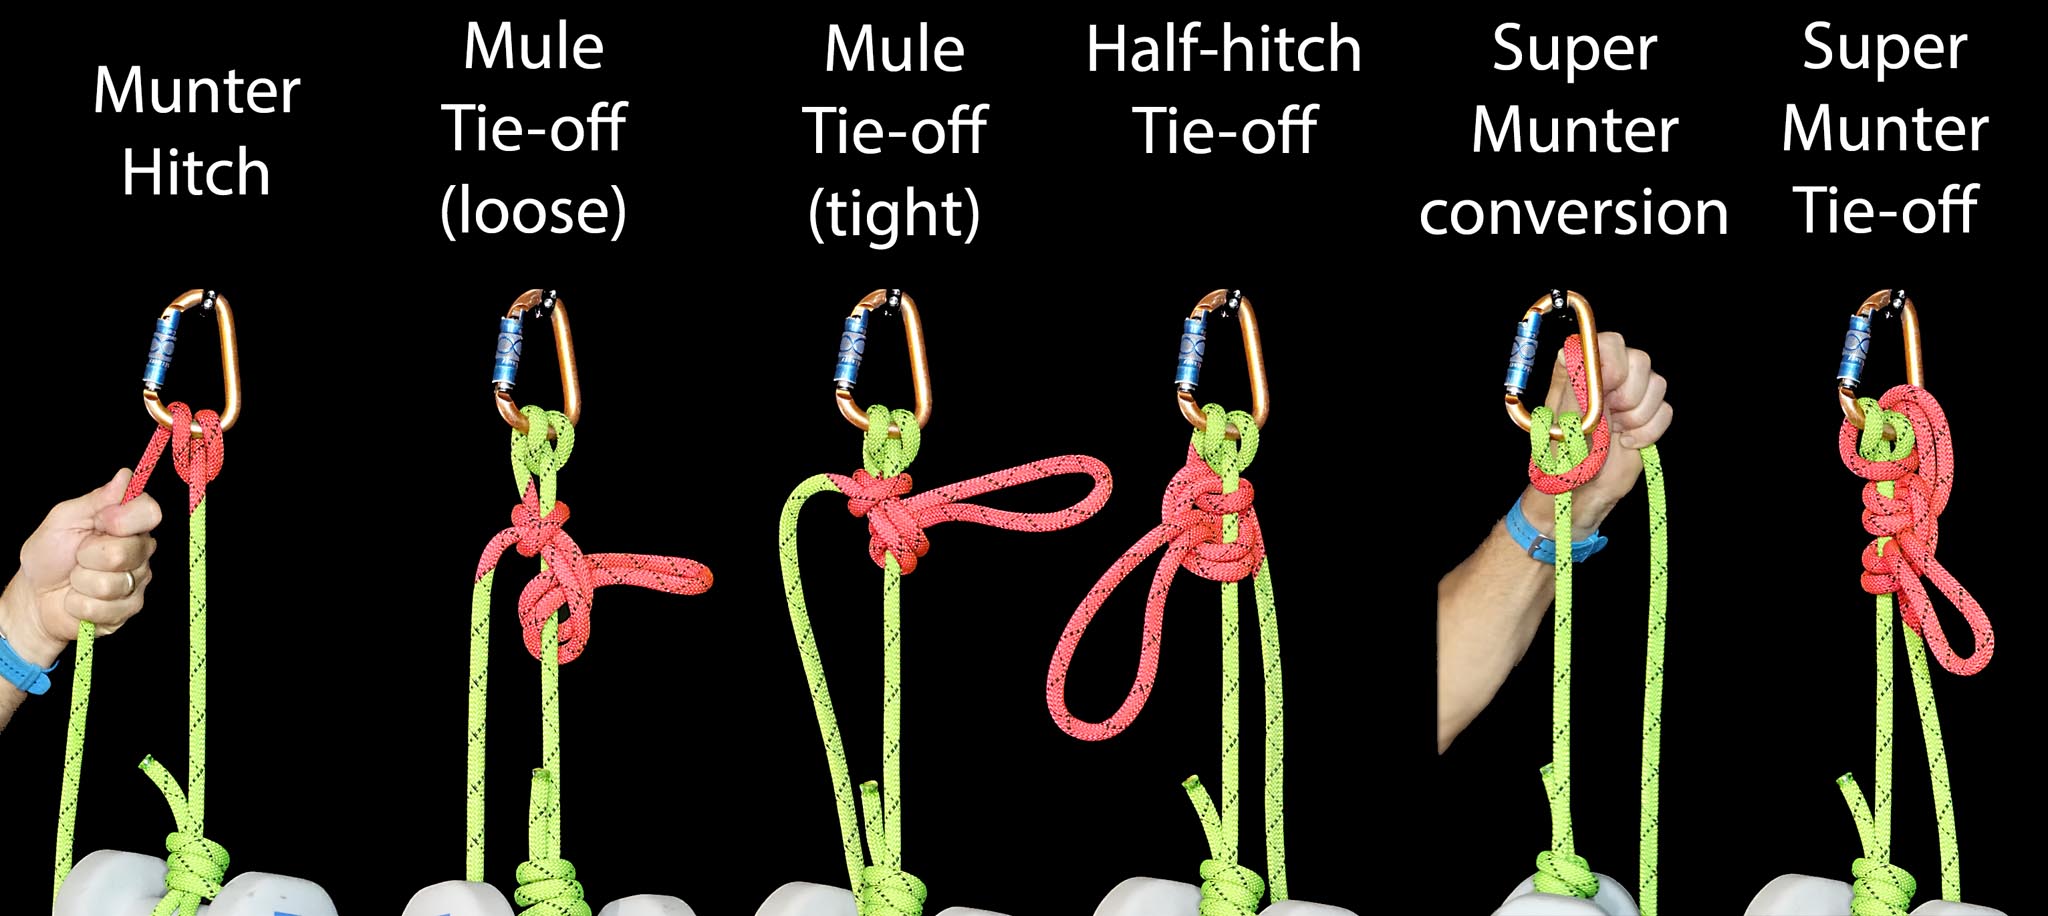
Many books claim that the most ‘correct’ way to tie-off the Munter Hitch is the Mule Tie-off. This method starts with an overhand slip knot around the loaded rope and then follows this with a half hitch. This method is preferred by most because it allows the tie-off to be unlocked easily even when the system is loaded.
The Half-hitch tie-off is used for tying off many other belay devices. This entails forming a long loop with the brake rope and tying this into two half-hitches around the loaded rope. This does work for the Munter Hitch, however it can be difficult to control when unlocking in a heavily loaded system.
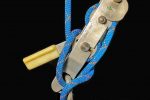
There is a third method that is worthy of consideration: The Super Munter Tie-off.
The Super Munter
This variation of the Munter Hitch is not well-known, however it is very useful.
The Super Munter is formed by tying another Munter over the top of the first.
The primary outcome of this is a significant increase in the holding power of this belay. Using the same simple test conditions as described above, the Super Munter could hold around 3.5-4kN with one brake hand and 7.5kN with a good stance and two hands on the brake rope.
A secondary outcome is that the second Munter Hitch reverses the twist of the first, so the Super Munter does not twist the rope.
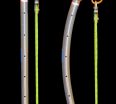
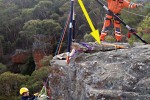
We tried lowering a 600lbs (272kg) mass, equivalent to a two-person rescue load, using the Super Munter with surprisingly good results:
Munter Hitch – Super Munter Tie-off
Given the ability of the Super Munter to manage large loads it is worth considering its inclusion as a tie-off method for the standard Munter Hitch.

Rather than opening the carabiner to complete the second Munter Hitch, pass a long bight through and then complete the tie-off with two half hitches.
Using the Super Munter Tie-off has the following advantages:
- It is easy to complete without allowing any more rope to creep through the system in load critical applications.
- It is easy to untie with complete control and confidence.
- If the load is heavy, then a Super Munter controlled lower can commence once the two half-hitches have been released.
- It maintains familiarity with the Super Munter.
Use of the Munter Hitch
Possibly the place where the Munter Hitch is used the most is for the anchoring of abseil or rappel lines used in guided outdoor activities. These activities normally have a separately managed belay line. Should a participant become ‘stuck’ then, once the belay line is locked off, the guide can release the Munter Hitch to introduce some slack into the abseil rope. This slack should resolve the issue but if not, assuming there is enough rope, the participant can be lowered all the way to the ground using both ropes.
Petzl require knowledge of the Munter Hitch for users of its I’D S self-braking descender. Specifically, when lowering heavy masses (150-250kg) with the I’D S, the brake rope exiting the I’D S should also then pass through a Munter Hitch on a separate braking carabiner (see here for details).
Conclusion
The Munter Hitch is and should always be regarded as a key resource for anyone who uses ropes. It may not see that much use, however its potential to perform when needed should never be underestimated. With sufficient knowledge, practice, and experience it can be used for everything from descending and belaying right through to lowering a two-person rescue load.
© Richard Delaney, RopeLab, 2016
Related Posts

About The Author
Richard Delaney
Richard Delaney has worked professionally with ropes since 1992 as a multi-pitch rock-climbing instructor, technical rescue instructor and rope access technician. Understanding and teaching the Physics of Rigging is a core passion of Richard’s, one based on his experience, and his prior professional life as a qualified engineer.
Add a Comment
You must be logged in to post a comment.